5) (Open your mouth:1

Pony Diffusion V6 XL + Styles For Pony Diffusion + DDetailer + Upscale

--

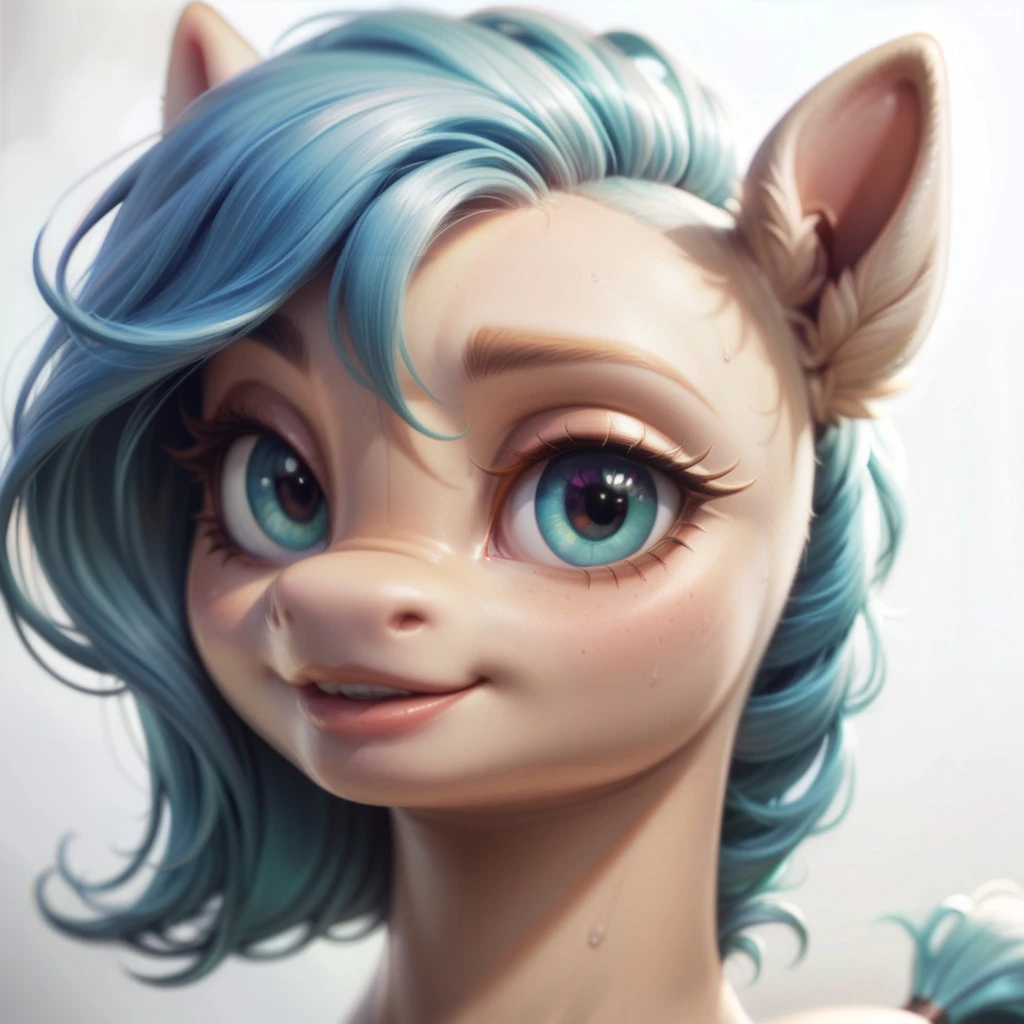
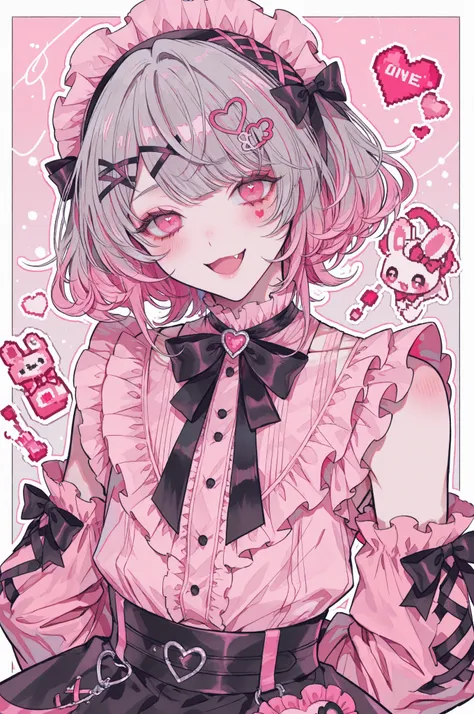
Pony Diffusion model to create images with flexible prompts and numerous character possibilities, adding a 2.5D LoRA of details for more styling options in the final result. The workflow has Upscale resolution to 1024 x 1024 and metadata compatible with the Civitai website (upload) after saving the image. I added the node clip skip -2 (as recommended by the model), remembering that in ComfyUI the value -2 is equal to 2 (positive) in other generators (Civitai, Tensorart, etc). After several tests, I realized the need to have a specific node group for details on faces, especially when using the Ponny model, so this new version has ComfyUI Impact installed with DDetailer Feature to detect faces and refine them automatically. I've left a note with the link explaining the details of how the tool works. NOTE: An interesting detail is that you can make the lines of the nodes “cleaner”, in other words, straighter. To do this, just follow these steps: 1 - Click on the ComfyUI “settings” gear, the icon is above the QUEUE PROMPT button, next to the name QUEUE SIZE: 1. 2 - In settings, scroll down to almost the bottom of the page and check the following option: LINKS RENDER MODE 3 - From the various options, choose STRAIGHT 4 - Click Close to exit the settings and you will now see the lines of the nodes “straight”, making it easier to understand the flows. The following additional nodes will be required: - UltimateSDUpscale (upscale) - SaveImageWithMetaData (metadata) - DDetailer (ComfyUI Impact Pack)

homer26
IPAdapter Advanced Dressing

3.5

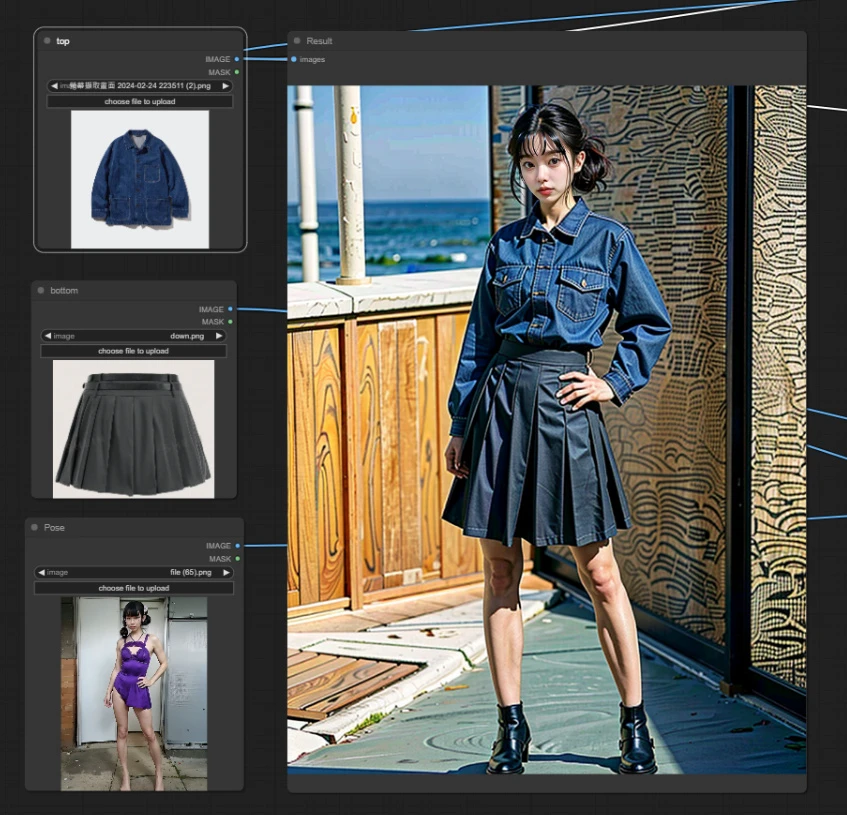
(0607)MinorFix Background will be better in Magmix10 This workflow uses the SD 1.5 IPAdapter and OpenPose for the character pose. It requires the latest version of the IPAdapter Node and uses new weights "weak input" to keep most of the clothes' appearance (looks better than the ootd node in some situation). If you want to reproduce the results like the example picture, you can get the model you like from Civitai, provide the character pose reference, face image, clothes, and background to complete it in this workflow. The webp picture provided in Asset shows the effect of the reference picture under each type of weight. WD14 About editing WD14 tags. In FinalPrompt, if you see an unwanted label, you can add it to the blue grid (Unwanted) and add the required label to the red grid. Some users cannot use WD14, so they can bypass the WD14 node and enter prompt words that match their clothes and background in the red box. WD14 is not a necessary condition for the process, it just helps you with the prompt words, but there are often detection errors. Entering the prompts yourself can sometimes produce better results. == 这个工作流使用了SD1.5的IPAdapter与Openpose达成基本换衣的效果。它使用了IPAdapter的权重 "weak input"用以尽量维持衣服的外观 (某些情况下它比OOTD还要好,特别是在人物姿势与衣服完全不同的时候). 如果你想产生像是范例那样的结果,你可以从Civitai取得模型,提供背景、人物动作、衣服、支持上身与下身的衣服,以及背景。 WebP档案呈现IPAdapter在各种权重下,衣服的表现。 关于编辑WD14的标签。 在FinalPrompt中,若看到不要的标签可以将它加入蓝色的格位排除(Unwanted),并在红色的格位加入需要的标签。 有些使用者无法使用WD14,可将WD14节点bypass掉,并自己在红色格中,输入符合衣服与背景的提示词。 WD14并非流程的必要条件,只是协助你进行提示词,但常有侦测错误,自己输入提示有时候会有比较好的结果。 目前这个工作流无法呈现衣服的细节,但AI换衣的理想是在哪种人物姿势下都能够穿上相对应的衣服,这个做法只是让它比较像一些而已。
Ashen
Flux Kontext Fast + Upscale Workflow [WIP]

--

Flux Kontext Fast + Upscale Workflow Status: Work in Progress - Still refining output quality This workflow combines the power of FLUX.1 Kontext with the Alimama Turbo LoRA to achieve fast, high-quality image generation and upscaling in just 8 steps. Key Features Fast Generation: Utilizes the alimama-creative/FLUX.1-Turbo-Alpha LoRA for rapid image generation with only 8 inference steps Context-Aware Editing: Leverages FLUX.1 Kontext capabilities for intelligent image editing and manipulation Two-Stage Process: Initial generation followed by upscaling for enhanced detail and resolution Efficient Workflow: Optimized for speed while maintaining quality output Workflow Components Stage 1: Fast Generation Model: FLUX.1 Kontext with Turbo Alpha LoRA Steps: 8 (significantly reduced from standard 20-50 steps) Guidance Scale: 2.5 (optimized for Turbo LoRA) Sampler: Euler with simple scheduler Stage 2: Upscaling Method: Ultimate SD Upscale with custom sampling Upscale Model: 4x-ClearRealityV1 Tile Processing: Intelligent slicing for memory efficiency Denoising: 0.2 strength for detail enhancement Technical Setup Required Models FLUX.1 Kontext DEV (FP8 quantized) Alimama FLUX.1-Turbo-Alpha LoRA 4x upscale model Standard FLUX text encoders (CLIP-L + T5) Memory Optimization FP8 model quantization for reduced VRAM usage Tile-based upscaling to handle large images Optional caching nodes for faster iterations Prompt Guidelines The workflow works best with detailed, descriptive prompts. The Turbo LoRA has been trained on high-aesthetic images (6.3+ rating) with resolution >800px, so it excels at: Detailed scene descriptions Lighting and atmosphere specifications Style and aesthetic directions Object replacement and background changes Current Limitations ⚠️ Work in Progress: Output quality is still being refined Some inconsistencies in fine details Occasional artifacts in upscaled regions This workflow represents an efficient approach to context-aware image editing with FLUX, trading some quality for significant speed improvements. Perfect for rapid prototyping and iterative design work.
DenRakEiw
Redux BG and Character, Replace Background

5.0

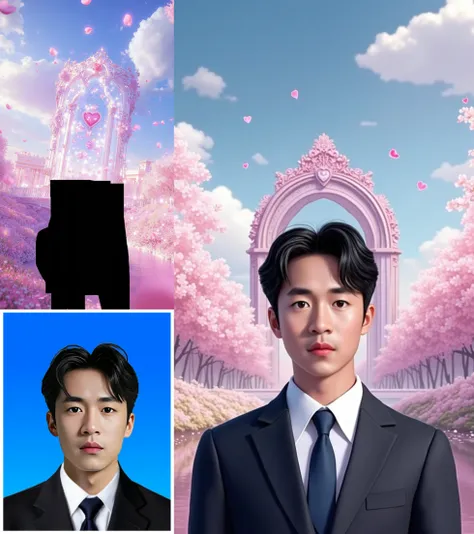
### Redux Background and Character Replacement Process### I. Workflow Process Description:1. Extract the Character: the character from the original background.2. Position the Character: Place the extracted character proportionally onto the designated masked area. Next, perform depth redrawing on the pre-composited image: 3. Load the Flux Depth Model: Access the model necessary for depth processing. 4. Extract the Depth Map: Create and consolidate the depth map of the composited image for redrawing. 5. Generate the Redrawing Prompt: Derive a prompt that will guide the redrawing process. 6. Control Facial Features: Adjust the character's facial features using Pulid. 7. Apply Redux to the Background: Integrate Redux effects on the background. 8. Apply Redux to the Character: Apply Redux effects to the character. 9. Sample and Generate Final Image: Produce the final image based on the adjustments made.### II. Usage Instructions:1. Upload Character Image: Ensure the character image is clear and complete, particularly focusing on a large facial region.2. Upload Background Image: Add the desired background in the designated area.3. Paint a Mask on the Background: Simply paint a mask up and down; the left and right areas will adjust automatically.### III. Parameter Adjustment Instructions:1. Adjust Facial Similarity: Change the weight of Pulid to modify the similarity of the character's face.2. Adjust Background Similarity: Alter the `downsampling_factor` in the Redux background area; a value of 1 represents the strongest and most similar effect, while a value of 3 indicates the weakest effect with the greatest change.3. Adjust Other Character Areas: Modify the `downsampling_factor` in the Redux character area similarly; again, a setting of 1 is the strongest and most similar, while 3 is the weakest.
TenoTony Official